
The Complete Guide to Garden Design
A full framework for planning a garden layout that holds together visually and functionally in every season.
Table of Contents
- The Three-Stage Design Process
- Proportion, Sightlines and Focal Points
- Measuring and Drawing the Plan
- Colour, Texture and Repetition
- Design Styles Worth Knowing
- Designing for All Four Seasons
- Lawn Shape and the Space Between Beds
- Common Design Mistakes
- Testing a Design Before You Commit
- From Design to Planting
- Frequently Asked Questions
The short answer
Garden design works in three stages: zone the space by how you will use it, put in structure before planting, then layer planting from tall to low. Design the open space first and let the beds be what is left over, because the shape of that open area is what the eye actually reads.
Garden design is the discipline of deciding what goes where, and why, before a single plant is bought. This guide expands on the core planning framework and connects it to the practical decisions that follow.
Stage 1
Zone by how you use the space
Stage 2
Structure before planting
Stage 3
Layer tall to low
The Three-Stage Design Process
1. Zoning by use
Map how you will actually use the space, meaning seating, growing, utility and play, before anything else. Our Garden Design Basics: How to Plan a Layout That Works Year-Round covers this in full, including a simple worksheet approach for mapping zones on paper first.
2. Structure first, then planting
Trees, hedging and hardscaping form the year round bones of a garden. If you are adding hard landscaping like paths or walls, sequence that work before final planting. See our landscaping guide for how paths and walls fit into that order.
3. Layered planting
Tall to low layering, meaning structure, mid height and front edge, is what makes a planting scheme read as intentional rather than random.

Proportion, Sightlines and Focal Points
A garden reads well when the eye has somewhere to go. One focal point per view, placed at the end of a sightline, does more for a design than any amount of additional planting.
Borders that are too shallow are the most common proportion error. Under about three feet a bed cannot hold three layers, so widen the bed and shrink the lawn rather than the other way round.
Measuring and Drawing the Plan
A design exists on paper before it exists in soil, and the paper stage is where mistakes are cheap. You do not need drafting skills, only a tape measure and squared paper.
Measure the boundaries, then fix the position of everything you cannot move: house walls, doors and windows, existing trees, manholes, the shed, the point where the gate opens. Mark north. Then shade the areas that are in shade at 10am, 2pm and 6pm, because those three sketches decide most of your planting.
Work at a usable scale
A scale where one square equals one foot is easy to think in. Draw beds and paths as shapes at that scale rather than sketching freehand, because a border that looks generous in a freehand drawing is often 18 inches deep in reality, which is too shallow to layer anything.
As a rule of thumb, a border needs at least 3 feet of depth to hold two layers of planting and 5 feet to hold three. Anything narrower becomes a row, not a border.
Design in negative space
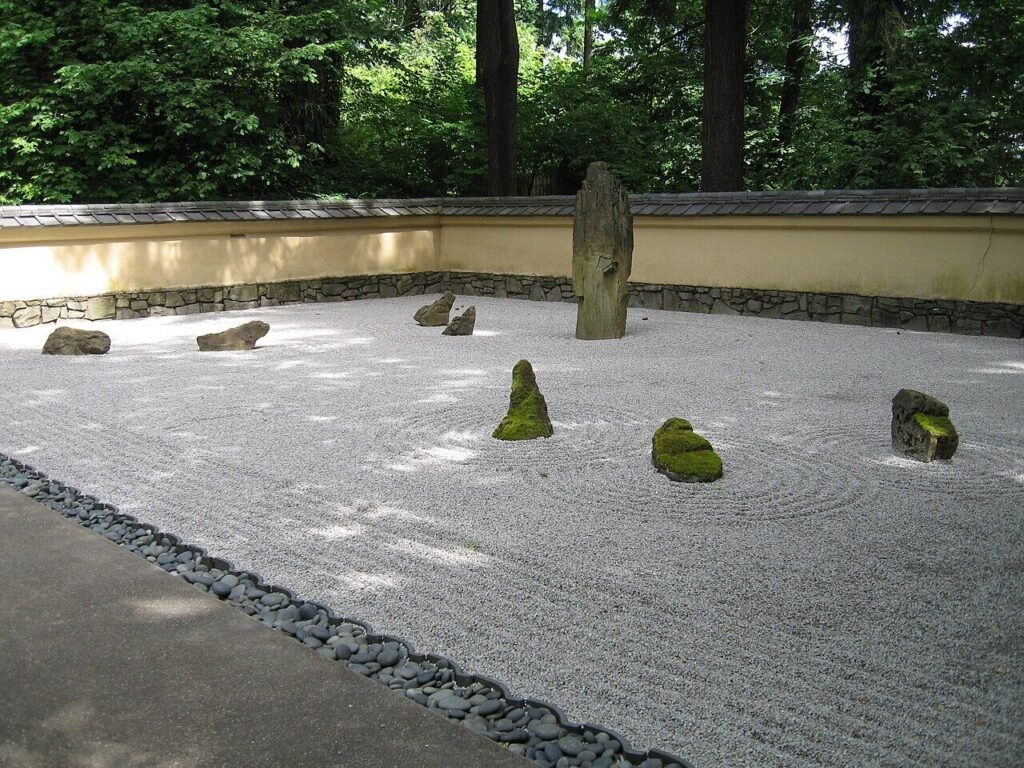
Beginners draw the beds. Designers draw the open space first, whether that is lawn, gravel or paving, and let the beds become whatever is left over. The shape of the open space is what the eye actually reads when it enters a garden, and a deliberate shape there does more than any individual plant.
Colour, Texture and Repetition
Three tools do most of the visual work in a planting scheme, and only one of them is colour.
- Repetition is the strongest. Using the same plant at intervals down a border makes the whole thing read as composed rather than collected. Three of one plant beats one each of three.
- Texture carries the scheme when nothing is flowering, which is most of the year. Contrast fine, feathery foliage against broad, bold leaves and the border stays interesting in November.
- Colour is the most obvious and the most easily overdone. A restricted palette, perhaps two main colours plus white or silver, looks far more considered than a full spectrum.
Plant in odd numbered groups of three, five or seven rather than singly. A single specimen of anything reads as a collection item; a drift reads as a design decision.
Design Styles Worth Knowing
- Cottage: dense, informal, mixed planting with self seeding perennials.
- Modern and minimal: restrained plant palette, strong hardscaping lines, repetition over variety.
- Naturalistic and prairie: grasses and perennials in drifts, chosen for structure through winter as much as summer flower.
- Formal: symmetry, clipped evergreens and a clear central axis, which suits small rectangular plots better than people expect.
Most home gardens work best borrowing elements from one dominant style rather than mixing several at once.
Designing for All Four Seasons
Most gardens are designed in spring, at a garden centre, surrounded by everything that happens to be flowering that week. The predictable result is a garden that peaks for six weeks and looks empty for the rest of the year.
The correction is to plan the year backwards, starting with the hardest season.
- Winter first. Evergreen structure, bark, stems, seed heads and the shape of the hard landscaping. If the garden works in February it will work in June.
- Autumn next. Foliage colour, late grasses, berries.
- Summer. The easiest season to fill, and the one most people over-plant for.
- Spring last. Bulbs slot into gaps between established plants and cost nothing in space.
A practical test: aim for roughly a third of the planting to be evergreen or structurally persistent. Below that, the garden disappears in winter.
Lawn Shape and the Space Between Beds
In most home gardens the lawn is the largest single element, which makes its shape the most consequential line in the design, yet it is usually whatever was left after the beds were dug.
Give it a deliberate shape: a clean oval, a soft rectangle, a simple curve that sweeps out of sight. Avoid wiggly edges, which are hard to mow and read as indecision rather than informality.
Keep the edges mowable. Every tight curve and narrow neck is a place the mower cannot reach and you will be trimming by hand for years. Our seasonal lawn care guide covers keeping that shape healthy once it is cut.
Common Design Mistakes
- Overplanting a new bed, when gardens fill in over two to three seasons.
- No clear sightline or focal point to draw the eye through the space.
- Ignoring winter structure, so the garden goes flat for several months a year.
- Paths too narrow to walk comfortably with tools or a barrow.
- One of every plant, which reads as a collection rather than a scheme.
Testing a Design Before You Commit
Mark beds and paths out at full size with a hose, sand or spray line, then live with it for a week. Walk the routes, sit where the seating will go, and check the view from the windows you look out of most.
Photograph the marked out layout from an upstairs window. Seeing the shapes flattened into a plan view exposes awkward proportions that are invisible at ground level.
From Design to Planting
Once your layout is set, category specific guides take over: our lawn care checklist for open lawn areas, our plant selection guide for matching species to conditions, and our lavender growing guide for one of the most reliable structural perennials for sunny borders.
The February test
Picture the garden in February with every perennial cut to the ground. Whatever is left is your structure. If the answer is a bare rectangle, the design needs more evergreen and hard landscaping before it needs another flowering plant.
Frequently Asked Questions
Do I need a professional designer for a home garden?
Not necessarily. The zoning, then structure, then planting sequence in this guide covers most home scale projects. Professional design tends to add the most value on complex sites such as steep slopes, major drainage issues or large properties.
How do I stop my garden looking flat in winter?
Add evergreen structure and hard landscaping, and leave seed heads and grasses standing rather than cutting everything back in autumn.
How many plant species should a border have?
Fewer than instinct suggests. Choose a limited palette and repeat groups of three or five along the bed; repetition is what makes a scheme read as designed.
Where should I start if the garden is completely bare?
With the hard structure and the open space, not the plants. Decide where you will walk, where you will sit and what shape the lawn or paving will be. Everything else is easier once those lines exist.
How long should a garden design take to plan?
Longer than most people allow. A full year of watching light, drainage and how you actually use the space is genuinely the best preparation, and it costs nothing but patience.
Should the beds be curved or straight?
Either, as long as it is deliberate and consistent. Straight lines suit formal and small gardens, where they make space feel ordered. Curves suit larger, informal plots. Mixing both in one small garden rarely works.
How do I make a narrow garden feel wider?
Run lines across the space rather than down it. A path that crosses at an angle, or beds that step in and out, break the corridor effect that straight parallel borders reinforce.