
Garden Design Basics: How to Plan a Layout That Works Year-Round
A practical framework for planning a garden layout: zoning by use, structuring with year-round plants first, then filling in for seasonal color.
Good garden design is not about knowing hundreds of plant names. It is about sequencing decisions in the right order: structure first, then planting; function first, then decoration. This guide walks through that order.
Order
Use, then structure, then planting
Planting layers
Structure, mid, front
Spacing rule
Plant less densely than feels right
Start With How You Will Actually Use the Space
Before choosing a single plant, map out zones: where you will sit, where the kids or pets will play, where you will grow vegetables, where the washing line or bins need to go. Draw this on paper first. A garden designed around real use gets used; one designed purely around looks often does not.
Walk the route you take most often, usually from the back door to the shed or the bins, and make that a proper path. Desire lines win every time. If you design around them rather than against them you avoid the worn strip across the lawn that no amount of reseeding fixes.
Common zones to plan for
- Seating and dining area, ideally near the house
- Productive space for vegetables, herbs and cut flowers
- Utility area for bins, compost, storage and the washing line
- Open lawn or play space, if needed
Read the Site Before You Fight It
Note where the sun falls through the day and where it does not, where water sits after heavy rain, and which side takes the prevailing wind. These three facts decide more about what will thrive than any design decision you make afterwards.
Microclimates within a single garden are often larger than the difference between neighbouring hardiness zones. A south facing wall stores heat and will hold plants a zone tenderer; a low corner collects cold air and frosts first.
Build the Year-Round Structure First
Evergreen shrubs, trees, hedges and hard landscaping such as paths, walls and pergolas are what hold a garden together in winter, when perennials have died back. Place these first. They are the bones of the design that everything else hangs off.
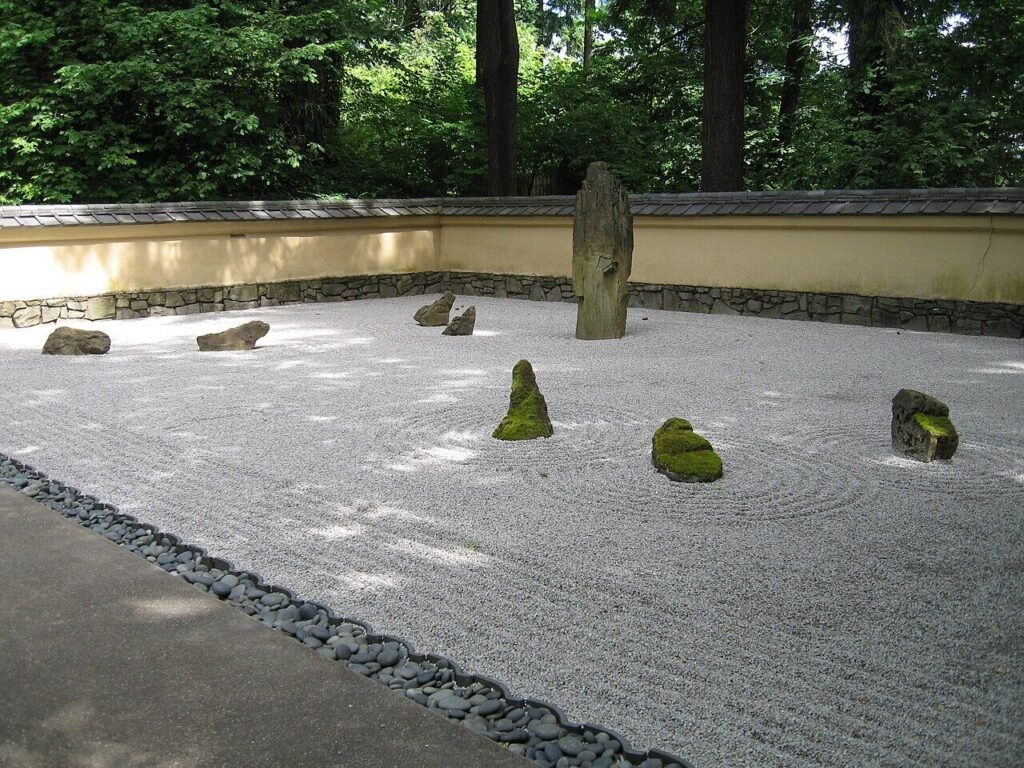
A useful test: imagine the garden in February with every perennial cut to the ground. What is left is your structure. If the answer is a bare rectangle, add structure before you add another flowering plant.
Layer Planting by Height
A layered planting scheme, tall at the back or centre, medium in the middle, low at the front or edges, reads as intentional rather than cluttered, whatever style you are working in.
A simple three-layer formula
- Structure layer: trees, large shrubs, hedging
- Mid layer: flowering shrubs, larger perennials, ornamental grasses
- Front layer: low perennials, groundcover, edging plants
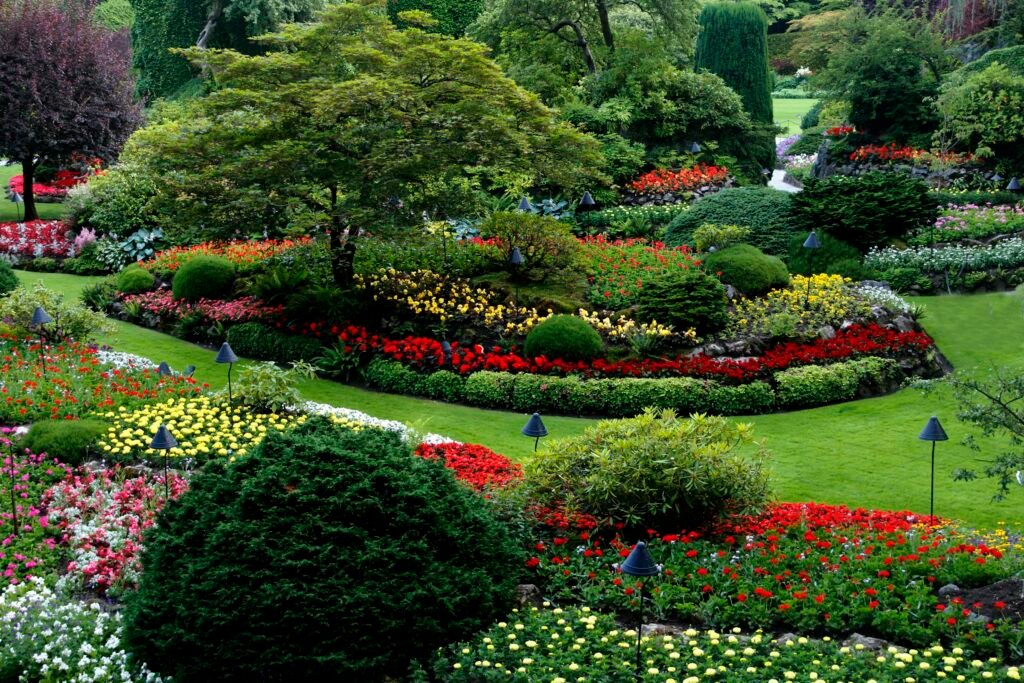
Plant in groups of three or five of the same species rather than singly, and repeat those groups along the bed. A drift reads as a deliberate scheme; one of everything reads as a collection.
Get the Proportions Right
Beds that are too narrow are the most common proportion mistake in home gardens. A border under about three feet deep cannot hold three layers, so it ends up as a single line of plants against a fence.
As a starting point, make borders at least a quarter as deep as the height of the boundary behind them, and widen the bed rather than narrowing the lawn if you have to choose. Lawn is the easiest element to shrink without anyone noticing.
Add Seasonal Interest Last
Once the structure and layering are in place, add plants chosen specifically to overlap flowering seasons, so there is always something happening: spring bulbs, summer perennials, autumn grasses and seed heads, winter stems and berries.
Aim for at least two things doing something in every month. Writing the months down the side of a page and filling them in is unglamorous, but it exposes the gaps that a garden centre visit in May never will.
Leave Room to Edit
Plant slightly less densely than feels right at first. Gardens fill in over two to three seasons, and the most common design mistake is overcrowding a bed in year one that becomes unmanageable by year three.
Test it before you dig
Mark out proposed beds and paths with a hose or sand and live with the layout for a week. Walk it, sit in it, carry the bins along it. Shapes that look right on paper often feel wrong at full size, and moving a hose costs nothing.
Ready to build the hard structure? See our complete guide to landscaping your yard for the right order of works, and the guide to choosing and growing garden plants for matching species to conditions.
Frequently Asked Questions
What should I plan first in a garden design?
How you will use the space. Map the zones and the routes you actually walk, then place hard landscaping and evergreen structure, and only then choose flowering plants.
How deep should a garden border be?
At least three feet if you want three layers of planting. Anything narrower ends up as a single row of plants against the boundary and never reads as a designed border.
How many different plants should I use?
Fewer than you think. Choose a limited palette and repeat groups of three or five through the bed. Repetition is what makes a scheme look designed rather than collected.
[…] and is easier to keep alive, since you’re only learning the needs of a few species well. See our Garden Design guide for how layered planting schemes are built around a limited […]
[…] seating area, a planted area and a utility area, rather than one undivided lawn. See our pillar on garden design layout planning for the zoning […]
[…] will actually use the space, meaning seating, growing, utility and play, before anything else. Our Garden Design Basics: How to Plan a Layout That Works Year-Round covers this in full, including a simple worksheet approach for mapping zones on paper […]
[…] the hard structure is planned, layout and planting decisions follow. See our Garden Design Basics guide for how to plan what goes around your new […]