How to Propagate Pothos in Water: A Step-by-Step Guide
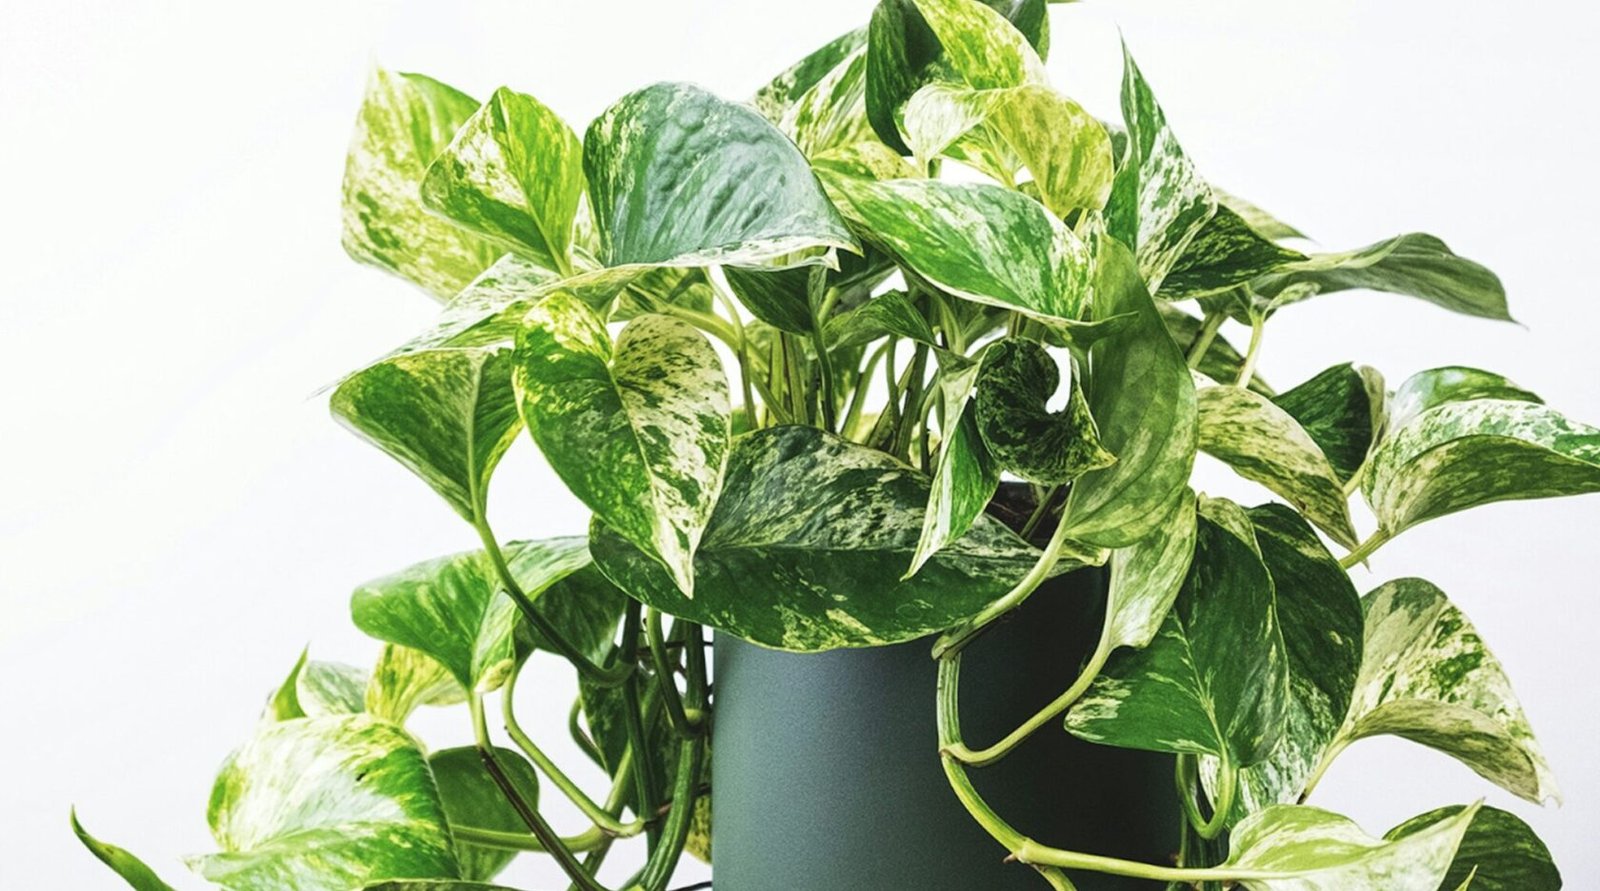
Pothos is one of the easiest houseplants to propagate, and rooting cuttings in water is the most reliable way to see the process happen — you can watch the roots form instead of guessing what’s happening underground. This guide walks through cutting, rooting, and potting up, step by step.
Step 1: Find the Right Node
Roots only grow from a node — the small brown bump on the stem, usually opposite a leaf, where a tiny aerial root nub is often already visible. A cutting without a node in the water simply won’t root, no matter how long you wait.
Using clean scissors or pruning snips, cut a stem section with at least two or three nodes. Cut about half an inch below the lowest node, then remove the leaf closest to that bottom node so it isn’t sitting submerged and rotting.
Step 2: Set Up the Jar
Use a clear glass jar so you can monitor root growth and water clarity. Fill it with room-temperature water, deep enough to submerge the nodes but keep any remaining leaves above the surface.
- Place the jar in bright, indirect light — direct sun can overheat the water and stress the cutting.
- Change the water every 5–7 days, or sooner if it looks cloudy.
- Keep the jar somewhere consistently warm; cold water slows rooting considerably.
Water vs. Soil Propagation
Water propagation is slower to establish a plant long-term than rooting directly in soil, but it lets you see exactly when roots have formed, which makes it easier for beginners to know when to pot up. Soil propagation skips the transition shock of moving from water to soil, but you’re rooting blind. For a first attempt, water propagation is the more forgiving option.
Root Progress Timeline
Rooting speed varies with light, temperature, and the individual cutting, but a general timeline looks like this:
- Week 1: Little visible change; the node may swell slightly.
- Week 2–3: Small white root nubs emerge from the node.
- Week 4–6: Roots lengthen to 1–2 inches with visible branching — this is the point to pot up.
Step 3: Pot the Rooted Cutting
Once roots are at least an inch or two long, move the cutting to a well-draining potting mix. Water-grown roots are adapted to water and are more fragile than soil-grown roots, so handle them gently and water the new pot thoroughly right after planting to settle the soil around them.
Keep the newly potted cutting out of direct sun for the first week or two while it adjusts, then move it to its regular bright, indirect spot.
Common Mistakes
- Cutting without a node: the single most common reason a cutting never roots.
- Submerged leaves: leaves left underwater tend to rot and can foul the whole jar.
- Potting too early: very short roots often fail to establish once moved to soil — wait until they’re at least an inch long.
For more on choosing plants that fit your indoor light levels, see our Indoor Plants guides.

Garden Editors
The editorial team behind Landscape Garden Idea, publishing practical, tested guides on gardening and landscaping.
How we research and write our guides: Our Editorial Policy